Posts

Showing posts from 2011

The Nature of It

Image
********** In loving memory of Norman Emack Millsap Sr. June 20, 1935  -  October 7, 2011 I created this arrangement from some of the flowers that were  at my  grandfather's funeral. He was a lover of nature and everything that pertained to it. His life was one that touched and blessed many.  He  will be  greatly missed  by all who had the pleasure of of knowing him. I love you and miss you always, my dear grandfather. **********

Liberty Reunion

Image
~~~~~~~ I was asked to take care of the decorations for a family gathering and so this is what I came up with as the centerpieces on each table. The vases are, yes, Mason & Kerr canning jars. They are filled with black aquarium gravel and decorated with patriotic streamer paper. I had tons of fun making these and I hope you enjoy my little creations! ~~~~~~~

Tissue Paper Vase #2

Image
Sometimes I find it's the vase that sets off the whole arrangement, s o I experiment with the Tissue Paper idea. You too can create your very own by just reading the instructions on the previous post entitled: Tissue Paper Vase. Enjoy!

My Royal Jean

Image
  I created this arrangement from some flowers a little lady gave me.

Spring Jems Bouquet

Image
I created this for our living room for the spring season. I used pink, yellow, peach and greenish burnt red roses, rose leaves and black aquarium gravel in the bottom of the vase.

Three Charms Bouquet

Image
I created this for a very dear friend of mine. She had some random flowers so I told her I'd turn it into a bouquet for a blue bottle she had. I used three red roses, babies breath and dark green rose leaves.

My First Design

Image

Tissue Paper Vase

Image
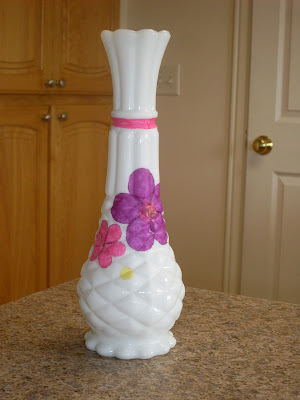
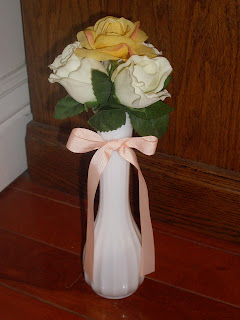
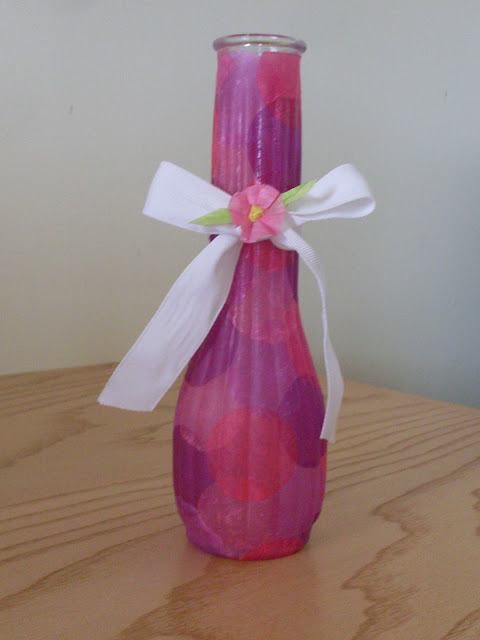
*** Items you will need : vase tissue paper paint brush scissors Elmer's school glue plastic container wet rag Take your vase in the palm of one hand and the paintbrush in your other hand.  Begin with spreading glue where you want your first piece of tissue paper to go. Place first piece of tissue paper on glued spot while it's still wet. Then with the brush, paint over the top of the tissue paper to mold it to your vase. Repeat this action until you've covered the entire vase. Let dry. Estimated time to complete :  1 1/2 hours Note :  If you would like, you could attatch a ribbon of your choice while your vase is still wet. What I did in the photo below, I used a simple, white ribbon. For the flower, I took a small piece of tissue paper and shaped it. I attatched a tiny piece of yellow tissue paper using a dob of glue. I anchored the flower to the ribbon using Gorilla Glue, better known as Super Glue. Then I added the petals in the back using green tissue paper. Thi

Summer and Autumn

Image

Spring Inspirations

Image